
The Ultimate Best Apple Crisp Recipe

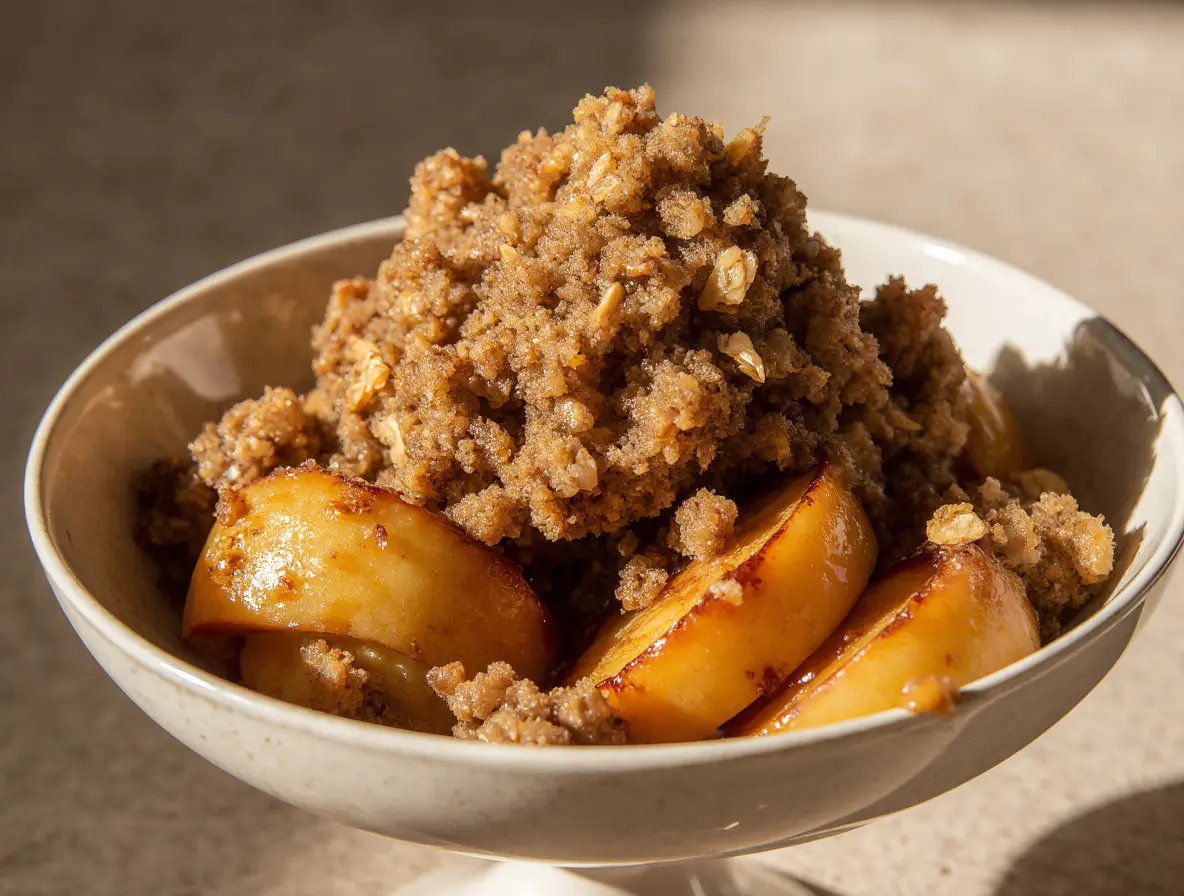
Oh, the sheer joy of a warm, bubbling The Best Apple Crisp fresh from the oven! There’s something so comforting and inviting about that sweet aroma filling my kitchen. I often find myself craving something simple yet wonderfully satisfying, and that’s exactly what my recipe for The Best Apple Crisp brings to the table. It’s a classic for a reason, offering tender, spiced apples beneath a delightful, crunchy topping.
Baking this treat is such a delightful experience, and I promise you, with my guidance, you’ll have a masterpiece ready in about an hour and a half, including a lovely 40-50 minutes of baking time. Get ready to create a dessert that will have everyone asking for seconds!
Table of Contents
Why This is Truly The Best Apple Crisp You’ll Ever Make
I know there are countless apple crisp recipes out there, but I truly believe mine stands out. I’ve carefully balanced the flavors and textures to create something truly special. The secret lies in the harmonious blend of sweet, slightly tart apples with just the right amount of cinnamon, brightened by a hint of lemon juice.
My topping is another highlight; it’s a perfect combination of old-fashioned oats, brown sugar, and flour, all brought together with cold butter. This ensures a wonderfully crumbly, golden-brown crust that provides the perfect contrast to the soft, spiced apple filling. I think you’ll find every spoonful utterly irresistible.
Essential Equipment for Your Apple Crisp Success
Having the right tools always makes baking a smoother, more enjoyable process. For this apple crisp, and other baked dishes like roasted vegetable pot pies, I recommend a few key pieces of equipment.
First, you’ll definitely need an 8×8 baking dish to ensure your crisp bakes evenly and beautifully. I also use a couple of mixing bowls; one for the apple filling and another for the crisp topping, which keeps everything organized. A pastry cutter is fantastic for incorporating the cold butter into the oat mixture, creating those perfect pea-sized crumbs that make for a wonderfully crunchy topping. If you don’t have a pastry cutter, don’t worry! I often use two forks or even my clean hands to get the job done.
Ingredients for The Best Apple Crisp
I always use fresh, high-quality ingredients to get the best flavor in my apple crisp. Here’s exactly what you’ll need to create this delicious dessert.
For the Apple Filling:
- 6 golden delicious apples (peeled and chopped (other varieties can be used, can also be sliced))
- 2 Tbsp granulated sugar
- 3/4 tsp ground cinnamon
- 1 1/2 tsp lemon juice
For the Crisp Topping:
- 1 cup light brown sugar
- 3/4 cup old fashioned oats (quick oats can be used, but it may have a slightly different texture)
- 3/4 cup all-purpose flour
- 1 tsp ground cinnamon
- pinch of kosher salt
- 1/2 cup cold unsalted butter (diced into small cubes)
Choosing the Perfect Apples for Your Crisp
The type of apple you choose can really make a difference in your apple crisp. I love using golden delicious apples in my recipe because they hold their shape beautifully when baked and offer a lovely sweet-tart balance that complements the spices so well. They become wonderfully tender without turning mushy.
When I’m picking apples at the store, I look for ones that are firm to the touch, without any bruises or soft spots. While I adore Golden Delicious, you can certainly experiment with other firm, sweet-tart apple varieties. The key is to choose apples that won’t completely break down during baking, ensuring your filling has a delightful texture. For a different use of apples, you might enjoy a butternut squash and apple bruschetta.
To Peel or Not to Peel: Your Crisp, Your Choice!
This is such a common question when it comes to apple crisp, and honestly, there’s no wrong answer; it truly is your crisp, your choice! I always peel my apples for this recipe because I prefer the smooth, tender texture of the cooked apples in the filling. It creates a very consistent and melt-in-your-mouth experience.
However, if you enjoy a little extra texture and don’t mind the apple skins, you can absolutely leave them on. The skins add a slight chewiness and a bit of extra fiber, plus it saves you a step! Just make sure to wash your apples thoroughly if you choose not to peel them. Either way, your apple crisp will be absolutely delicious.
Step-by-Step Instructions to Master The Best Apple Crisp
I promise, making this apple crisp is incredibly straightforward. Just follow these steps, and you’ll be enjoying a warm, homemade dessert in no time!
- Preheat oven to 350 F degrees. Butter an 8×8 baking dish, or spray with non-stick cooking spray. Set aside.
- In a mixing bowl, add chopped apples, granulated sugar, 3/4 tsp of the cinnamon and lemon juice. Stir to combine, then transfer to prepared baking dish.
- In a separate mixing bowl, add topping ingredients (brown sugar, oats, flour, 1 tsp cinnamon, salt, and diced cold butter).
- Use a pastry cutter to cut the butter into the oat mixture, using a slight downward twisting motion, until mixture resembled pea-sized crumbs. Alternatively, you can use two forks or even your hands to cut butter into the mixture.
- Spread topping over apples in baking dish, and gently pat to even it out. Bake 40-50 minutes, until golden brown and bubbly.
- Serve warm and enjoy! I love to top mine with some vanilla bean ice cream, or whipped cream.
The Best Apple Crisp
Ingredients
Equipment
Method
- Preheat the oven to 350°F (175°C). Grease a 9×9-inch baking dish with butter or nonstick spray.
- In a large bowl, toss the sliced apples with sugar, cinnamon, and nutmeg. Spread evenly in the prepared baking dish.
- In another bowl, combine oats, brown sugar, flour, and salt. Pour in the melted butter and mix until crumbly.
- Sprinkle the oat mixture evenly over the apple layer.
- Bake for 40–45 minutes, or until the topping is golden brown and the apples are tender and bubbling.
- Allow to cool for about 10 minutes before serving. Enjoy warm with a scoop of vanilla ice cream if desired.
Notes
Make-Ahead, Storage, and Reheating Guide
I know life gets busy, so I’ve put together some helpful tips for making your apple crisp fit into your schedule, whether you’re preparing it in advance or saving some for later.
Can You Make Apple Crisp Ahead of Time (Unbaked)?
Yes, you absolutely can! I often assemble my apple crisp the day before I plan to bake it. Prepare the apple filling and the crisp topping as directed, then assemble them in your buttered baking dish. Cover the dish tightly with plastic wrap and refrigerate it for up to 24 hours. When you’re ready to bake, remove it from the fridge while your oven preheats; it might need an extra 5-10 minutes of baking time since it’s going into the oven chilled.
How to Store Leftover Apple Crisp
If you have any leftover apple crisp (a rare occurrence in my house!), I recommend letting it cool completely before storing. Once cool, cover the baking dish tightly with plastic wrap or transfer the crisp to an airtight container. It will keep beautifully in the refrigerator for up to 3-4 days.
Freezing Baked Apple Crisp
Freezing baked apple crisp is a fantastic option if you want to enjoy it even later! First, allow the crisp to cool completely after baking. Then, you can either wrap the entire baking dish tightly with several layers of plastic wrap and aluminum foil, or I like to portion out individual servings into freezer-safe containers. Properly wrapped, it will stay fresh in the freezer for up to 3 months.
Reheating Your Apple Crisp for Fresh-Baked Taste
To bring your apple crisp back to life, I have a couple of favorite reheating methods. For the best texture, I recommend reheating it in the oven. Place individual servings or the whole dish (uncovered, if previously wrapped) in an oven preheated to 300°F (150°C) for about 15-20 minutes, or until warmed through and the topping is crisp again. You can also reheat individual servings in the microwave for 30-60 seconds, but the topping won’t be as crispy.
Creative Ways to Serve Your Incredible Apple Crisp
While I always love my apple crisp with a scoop of vanilla bean ice cream or a dollop of whipped cream, there are so many other wonderful ways to enjoy this classic dessert. I encourage you to get creative!
- Warm Caramel Sauce: A drizzle of homemade or store-bought caramel sauce adds an extra layer of sweetness and richness.
- A Sprinkle of Nuts: Toasted pecans or walnuts sprinkled over the top before serving offer a lovely textural crunch and nutty flavor.
- Crème Fraîche: For a touch of sophisticated tang that beautifully cuts through the sweetness, a dollop of crème fraîche is delightful.
- Custard Sauce: A warm, creamy vanilla custard poured over the crisp is pure indulgence.
- Cheddar Cheese: For a truly classic American pairing, a thin slice of sharp cheddar cheese melting atop a warm serving is surprisingly delicious!
Customizing Your Apple Crisp: Variations & Substitutions
One of the things I love most about baking is how easily you can adapt recipes to your taste or what you have on hand. My apple crisp is no exception!
Flavor Boosts & Other Fruit Combos
Feel free to play around with the spices and fruits to make this apple crisp uniquely yours.
- Additional Spices: I sometimes add a pinch of ground nutmeg, allspice, or even a tiny bit of ground ginger to the apple filling for a more complex spice profile.
- Citrus Zest: A teaspoon of orange or lemon zest can really brighten the apple filling and add an aromatic kick.
- Other Fruit Combos: Don’t limit yourself to just apples! I love combining apples with sliced pears, a handful of fresh cranberries, or even some mixed berries for a seasonal twist. Just make sure the total fruit amount stays similar.
Dietary-Friendly Swaps (Gluten-Free & Vegan)
I believe everyone should be able to enjoy a delicious apple crisp, so I’ve put together some easy swaps for dietary needs.
| Ingredient | Gluten-Free Option | Vegan Option |
|---|---|---|
| All-purpose flour | Gluten-free all-purpose flour blend | – |
| Unsalted butter | – | Vegan butter stick |
| Old fashioned oats | Certified gluten-free old fashioned oats | – |
Ingredient Substitutions
Sometimes you just don’t have the exact ingredient, and that’s okay! Here are some practical alternatives I’ve tried.
| Ingredient | Substitution Idea |
|---|---|
| Light brown sugar | Dark brown sugar (stronger molasses flavor) or granulated sugar (less depth) |
| Granulated sugar | Brown sugar (for filling) |
| Lemon juice | Apple cider vinegar (less ideal, but can provide some tartness) |
Frequently Asked Questions (FAQs) About Apple Crisp
I get a lot of questions about apple crisp, so I thought I’d answer some of the most common ones here!
What are the best apples for apple crisp?
I find that firm, sweet-tart apples work best for apple crisp, as they hold their shape during baking and offer a lovely flavor balance. My recipe specifically calls for Golden Delicious apples, which are a fantastic choice, but other firm varieties can also be used.
Do I need to peel the apples for apple crisp?
No, you don’t have to peel the apples! I personally peel them for a smoother texture, but leaving the skins on adds a bit more texture and fiber. It’s totally up to your preference!
How do I store leftover apple crisp?
Once your apple crisp has cooled completely, cover it tightly with plastic wrap or transfer it to an airtight container. It will stay fresh in the refrigerator for 3-4 days.
Can I freeze apple crisp?
Yes, you can! After baking and cooling completely, wrap your apple crisp well in plastic wrap and aluminum foil, or portion it into freezer-safe containers. It can be frozen for up to 3 months.
How do I prevent my apple crisp filling from being watery?
To prevent a watery filling, I recommend ensuring your apples aren’t overly wet before mixing and choosing firm apple varieties. My recipe has a great balance of ingredients that usually prevents this, but for very juicy apples, a tiny bit of flour or cornstarch (about a teaspoon) can sometimes help.
I truly hope you feel inspired to try my recipe for The Best Apple Crisp. There’s nothing quite like the warmth and comfort of a homemade dessert, and this one is guaranteed to bring smiles to everyone’s faces. It’s such a simple pleasure to bake something so delicious, and I promise you’ll be proud of the results!
I would absolutely love to hear about your experience making this crisp! Please leave a comment below to share your thoughts, your own tips, or any questions you might have. You can also tag me on social media with your beautiful apple crisp creations. Happy baking, my friends!